Have you ever wondered how to ensure your videos on EverWebinar are of the highest quality? In today’s digital age, video content plays a crucial role in engaging your audience, and maintaining high quality is essential for a professional appearance. This guide will dive into the steps you need to take to ensure your videos on EverWebinar are top-notch and keep your viewers glued to their screens.

What Is EverWebinar?
EverWebinar is an automated webinar platform designed to help you deliver live-like webinars without being present. By scheduling pre-recorded webinars to run at specific times, you can ensure a seamless experience for your attendees. This platform is particularly useful for marketers, educators, and influencers who want to maximize audience engagement without the constraints of live broadcasting.
Why Is High-Quality Video Important?
Quality video is paramount for a few simple reasons: it increases viewer engagement, builds trust, and showcases your professionalism. Poor video quality can distract your audience and undermine your message, while high-quality video ensures clarity and maintains your viewers’ focus.

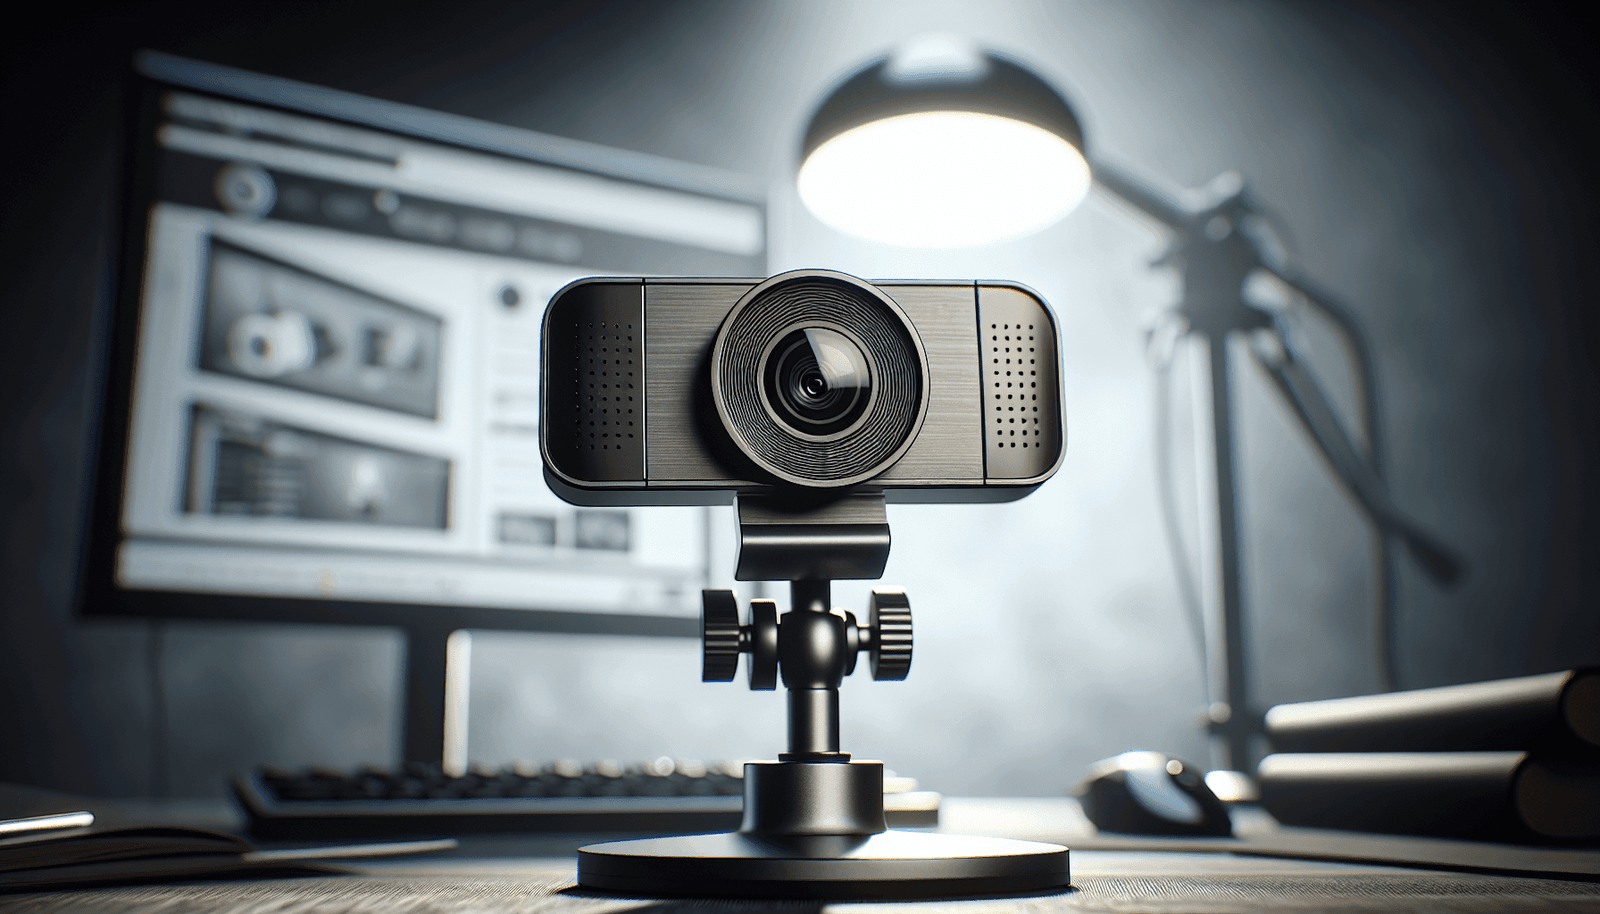
Equipment You’ll Need
To ensure high-quality video in your EverWebinar sessions, consider investing in the right equipment. Here’s a list of essentials:
| Equipment | Purpose |
|---|---|
| Camera | Capture high-definition video |
| Microphone | Ensure clear and crisp audio |
| Lighting Kit | Improve video clarity and reduce shadows |
| Tripod or Mount | Stabilize the camera for a professional look |
| Background | Keep the focus on you and reduce visual distractions |
| Internet Connection | A stable connection to upload and stream your videos |
Camera
Your camera is the most critical part of your setup. While many laptops come with built-in cameras, these are often not sufficient for professional-quality videos. Invest in a high-definition external camera to capture clear and vibrant video. Consider cameras from brands like Logitech or Canon, which are popular for video content creation.
Microphone
Audio quality can make or break your video. An external microphone can dramatically improve the clarity and richness of your sound. Lavalier mics, USB mics, and shotgun mics are excellent choices depending on your setting. Blue Yeti and Rode are reputable brands you can rely on.
Lighting
Lighting can significantly impact the quality of your video by reducing shadows and highlighting your features. Softbox lights, ring lights, and LED panels are great options. Position your lights at a 45-degree angle from your face for balanced lighting.
Tripod or Mount
Stabilizing your camera is essential for a professional look. A tripod or a camera mount ensures your video remains steady and framed correctly. This equipment also frees up your hands, allowing you to focus on delivering your content.
Background
A clean and uncluttered background keeps the focus on you. Consider using a neutral background or a green screen if you plan to add visual effects. This makes your video appear polished and distraction-free.
Internet Connection
A reliable internet connection is non-negotiable, especially when uploading or streaming videos. Ensure you have a broadband connection with good upload speeds to avoid buffering and interruptions.
Preparing Your Content
Quality isn’t just about visuals and audio; it’s also about the content you deliver. Preparation is key to delivering engaging and clear webinars.
Planning Your Webinar
Start by outlining the main points you want to cover. Create a detailed script or bullet points to keep you on track. Make sure your content is relevant and valuable to your audience. This will help maintain their interest and engagement throughout the webinar.
Rehearsing
Before recording, practice your presentation. Rehearsing allows you to become familiar with your material, reduce filler words, and improve your delivery. Record a few test runs to check for any issues with video or audio quality.
Recording Your Video
When you’re ready to record, ensure your environment is set up correctly. Here’s a checklist to follow:
Setting Up
- Camera Position: Position your camera at eye level for a natural look.
- Lighting: Set up your lights and adjust them to reduce shadows.
- Audio: Test your microphone levels to ensure clear audio.
- Background: Ensure your background is tidy and visually appealing.
- Internet: Check your internet speed to ensure it’s stable.
Recording Tips
- Speak Clearly: Use a conversational tone and speak slowly to ensure your audience can follow along.
- Engage with the Camera: Look directly into the camera to create a connection with your viewers.
- Use Visual Aids: Incorporate slides, images, or videos to illustrate your points and maintain interest.
- Monitor Indicators: Keep an eye on your camera and audio indicators to ensure everything is working correctly.
Editing Your Video
Post-production is where you can polish your recording and add professional touches. Editing software like Adobe Premiere Pro, Final Cut Pro, or even simpler tools like iMovie can help you achieve the desired result.
Basic Editing Techniques
- Trim and Cut: Remove any unnecessary parts, mistakes, or long pauses.
- Add Transitions: Use smooth transitions between sections to maintain flow.
- Include Graphics and Text: Add titles, names, or call-to-actions to enhance your presentation.
- Adjust Audio Levels: Ensure your audio is consistent and clear throughout the video.
- Color Correction: Adjust the color balance to give your video a professional look.
Adding Special Effects
- Intro and Outro: Create an engaging intro and a closing section to start and end on a high note.
- Background Music: Subtle background music can enhance your video’s ambiance, but ensure it doesn’t overpower your voice.
- Animations: Add animations to emphasize critical points or transitions. Use them sparingly to avoid distraction.
Uploading to EverWebinar
Once your video is ready, it’s time to upload it to EverWebinar. Follow these steps to ensure a smooth upload process:
Video Formats and Resolutions
EverWebinar supports various video formats and resolutions. Here’s a quick guide:
| Format | Resolution |
|---|---|
| MP4 | 1080p (recommended) or 720p |
| MOV | 1080p (recommended) or 720p |
Ensure your video is in a supported format and resolution for optimal playback quality.
Upload Process
- Log in to EverWebinar: Access your EverWebinar account and go to the “My Webinars” section.
- Create New Webinar: Click on “Create Webinar” and follow the prompts to set up your new webinar.
- Upload Video: When prompted to upload your video, select your file and allow it to upload completely.
- Configure Settings: Adjust the playback settings, including the schedule, registration options, and any interactive elements.
- Preview: Preview your webinar to ensure everything looks and sounds correct before going live.
Testing and Feedback
Before launching your webinar, conduct a few test runs to ensure everything is working correctly. Ask a colleague or friend to watch your test webinar and provide feedback on video quality, audio clarity, and overall presentation. Use this feedback to make any necessary adjustments.
Test Run Checklist
| Test Item | Action |
|---|---|
| Video Quality | Ensure the video is clear and in high definition |
| Audio Clarity | Check that the audio is crisp and at a consistent volume |
| Lighting | Verify that lighting is balanced and free of shadows |
| Background | Confirm that the background is appropriate and tidy |
| Internet Speed | Test your connection to avoid buffering |
| Interactivity | Check any added polls, quizzes, or chats |
Optimizing Viewer Experience
Creating high-quality video content is just one part of the puzzle. You also need to ensure your viewers have a great experience during the webinar.
Interaction Tools
EverWebinar offers various interaction tools to engage your audience. Use these tools wisely:
- Polls and Surveys: Use these to gather feedback and keep viewers engaged.
- Live Chat: Enable live chat to answer questions and interact with viewers in real-time.
- CTAs: Include Call-to-Actions (CTAs) throughout your webinar to drive engagement.
Follow-Up
After your webinar, follow up with your attendees to thank them for joining and provide additional resources. Send an email with a replay link, useful links, and a survey to gather feedback for future improvements.
Common Issues and Troubleshooting
Even with careful preparation, you might encounter some issues. Here’s a look at common problems and how to solve them:
Video Is Blurry or Pixelated
- Check Camera Resolution: Ensure your camera is set to the highest resolution.
- Lighting: Improve your lighting setup to enhance video clarity.
- Internet Speed: Test your internet speed; a slow connection may affect video quality.
Audio Issues
- Microphone Quality: Use an external microphone for better sound.
- Background Noise: Record in a quiet environment to minimize noise.
- Audio Levels: Monitor and adjust audio levels during editing.
Upload Problems
- Format and Resolution: Ensure your video is in a supported format and resolution.
- File Size: Reduce file size if necessary; large files may take longer to upload.
- Internet Connection: Use a strong and stable internet connection for uploading.
Best Practices for High-Quality Webinars
To consistently deliver high-quality webinars, keep these best practices in mind:
Plan Ahead
Planning is crucial for smooth execution. Outline your content, rehearse, and test all equipment before going live.
Stay Organized
Keep your workspace organized. A clutter-free environment enhances focus and professionalism.
Monitor Quality
Regularly review your equipment and setup to ensure everything is functioning correctly. Update your software and hardware as necessary.
Engage Your Audience
Use interactive elements to engage your audience. Keep your content dynamic and responsive to viewer feedback.
Continuous Improvement
Always look for ways to improve. Gather feedback from your audience and make adjustments for your next webinar.
Conclusion
Ensuring high-quality video in EverWebinar involves a combination of good equipment, thorough preparation, and meticulous attention to detail. From choosing the right camera and microphone to editing and uploading your content, every step plays a vital role in delivering a professional and engaging webinar experience. Don’t forget to test your setup and seek feedback to continue refining your approach. With these tips and tricks, you’ll be well on your way to captivating your audience and delivering value through high-quality webinars.
Remember, the key to successful webinars lies not only in the quality of the content you deliver but also in the experience you create for your viewers. Happy presenting!
