Ready to ensure your next WebinarJam session goes off without a hitch? In “How to Effectively Test Your Webinar Setup in WebinarJam,” you’ll discover a step-by-step guide to perfecting your webinar setup. You’ll learn insider tips on setting up your camera and microphone, checking your internet connection, and running a thorough test session to iron out any potential issues before you go live. This friendly and easy-to-follow guide aims to make you feel confident and prepared, so your presentation can run smoothly and impress your audience. Have you ever wondered how to effectively test your webinar setup in WebinarJam? Whether you’re new to the platform or have been using it for a while, understanding the best practices for testing can make a big difference in the quality of your webinar. Testing your setup ensures everything runs smoothly, from your audio and video to your presentation slides and polls.

What Is WebinarJam?
Overview
WebinarJam is a popular platform designed to help you create and manage live webinars. Its robust features make it easier to engage with your audience, providing tools like chat, polls, and Q&A sessions. However, the success of your webinar heavily depends on thorough preparation, including testing your entire setup.
Why Testing is Crucial
Testing allows you to identify and resolve potential issues before they affect your live session. It ensures your webinar runs seamlessly, making a positive impression on your audience. Plus, it reduces the stress and anxiety that often accompany live events, giving you peace of mind.

Pre-Webinar Preparations
Scheduling a Test Webinar
The first step to an effective test is to schedule a test webinar. This is a private session where you can simulate your live webinar to see how everything works.
- Log in to WebinarJam: Go to your Dashboard.
- Schedule a New Webinar: Choose a date and time for your test.
- Invite Test Participants: Inviting a few team members or friends can provide valuable feedback.
Creating a Checklist
A checklist ensures you cover all the essential elements during your webinar test. Here’s a basic template:
| Element | Status | Comments |
|---|---|---|
| Internet Connection | ✅ / ❌ | |
| Audio Quality | ✅ / ❌ | |
| Video Quality | ✅ / ❌ | |
| Presentation Slides | ✅ / ❌ | |
| Polls & Q&A | ✅ / ❌ | |
| Screen Sharing | ✅ / ❌ |
Technical Setup
Ensuring a Stable Internet Connection
A stable internet connection is crucial for a successful webinar. Here are some tips:
- Use a Wired Connection: Whenever possible, avoid Wi-Fi.
- Check Your Speed: Ensure your upload speed is at least 5 Mbps.
- Close Unnecessary Applications: This can free up bandwidth and improve stability.
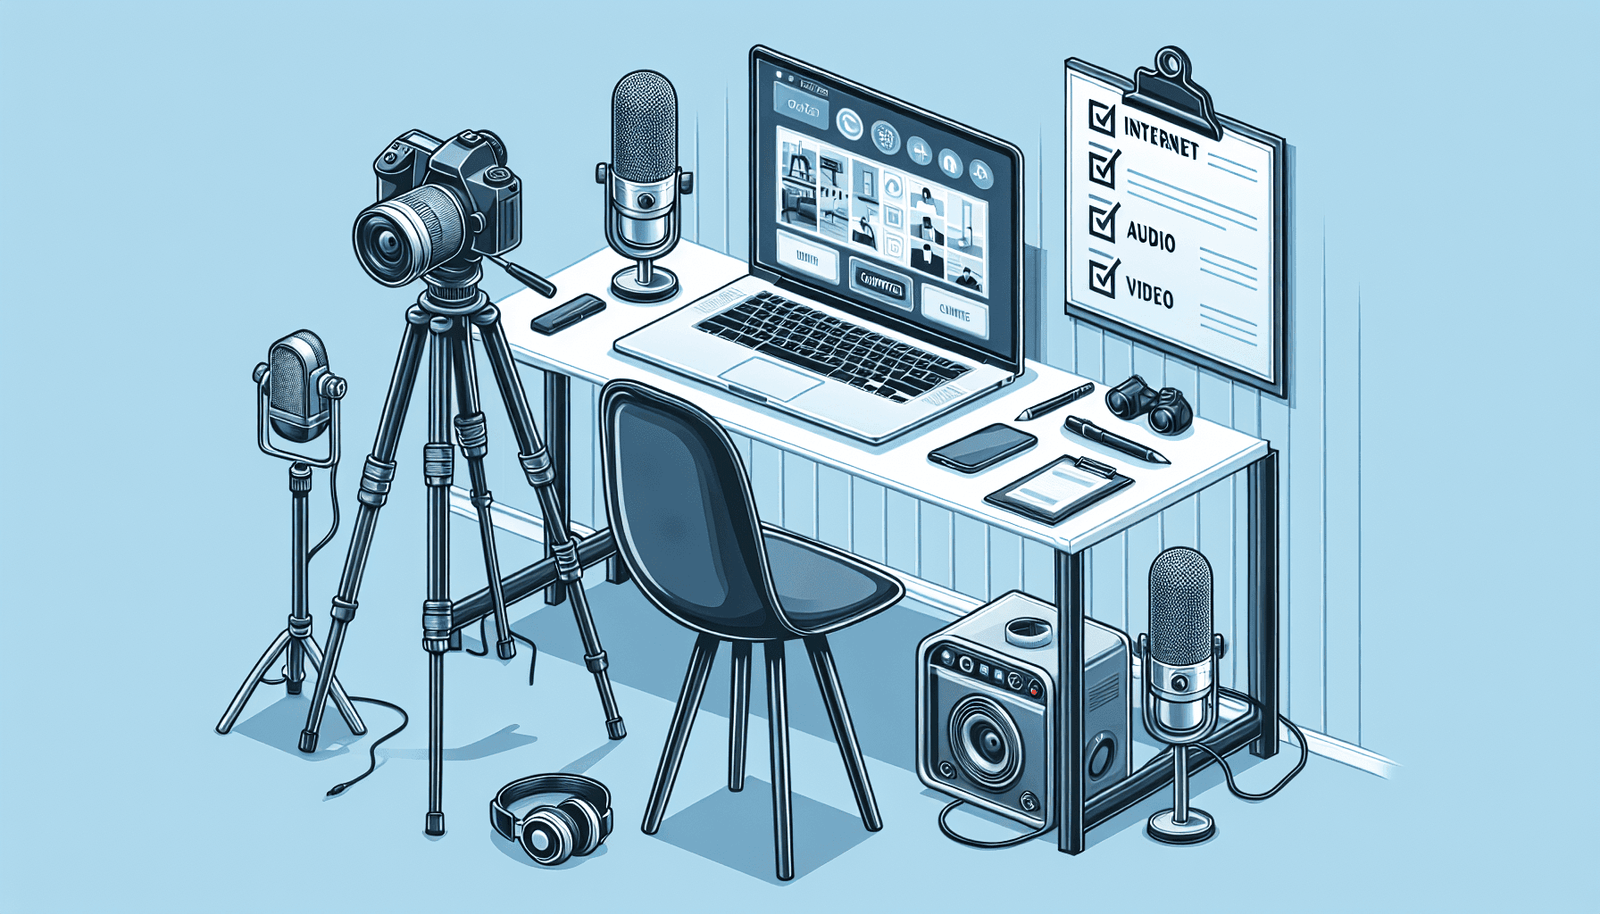
Audio and Video Equipment
Your audio and video quality significantly affect your audience’s experience. Here’s how you can ensure they are top-notch:
- Microphone: Test your microphone for clarity. Using an external mic often yields better results than built-in laptop mics.
- Camera: A high-definition camera provides a clearer image. Ensure you have proper lighting to avoid a dark or blurry video.
- Headphones: Using headphones minimizes feedback and echo.
Testing Your Webinar Content
Presentation Slides
Ensure your presentation slides load correctly and transition smoothly. Here’s what to check:
- Format Compatibility: Make sure the file type you’re using is supported.
- Animations and Transitions: Test these to make sure they work as expected.
- Readability: Ensure text size and color are easy to read.
Polls and Q&A
Polls and Q&A are essential for engaging your audience. Here’s how to test them:
- Creating Polls: Create a few sample polls and ensure they work correctly.
- Q&A Sessions: Test how questions appear and how you’ll handle them during the webinar.
Screen Sharing
Screen sharing is often used to demonstrate software or navigate through websites. Here’s what to test:
- Compatibility: Ensure your screen-sharing feature works across different browsers and devices.
- Visibility: Make sure shared content is clear and legible.
Dry Run
Conducting a Full Dry Run
A full dry run simulates the actual webinar from start to finish. Here’s how to do it:
- Run Through Your Opening Speech: This sets the tone for your webinar.
- Go Through Each Slide: Ensure transitions and animations work smoothly.
- Engage with Polls and Q&A: This tests interactive elements.
- Concluding Remarks: Finish with your closing statements.
Gathering Feedback
After the dry run, gather feedback from your test participants. Use this constructive criticism to make necessary adjustments.
Handling Common Issues
Technical Glitches
Despite thorough testing, technical glitches can sometimes occur. Here’s how to handle them:
- Audio/Video Issues: Have a backup microphone and webcam ready.
- Internet Problems: Know how to quickly switch to a mobile hotspot if needed.
- Software Malfunctions: Familiarize yourself with WebinarJam’s troubleshooting guides.
Engagement Challenges
Engaging your audience helps maintain interest and retention. If you face challenges, consider these tips:
- Interactive Elements: Use more polls, Q&A, and chat functions.
- Content Quality: Ensure your content is informative and relevant.
- Speaker Engagement: Be enthusiastic and interactive.
Post-Test Adjustments
Reviewing Feedback
Carefully review the feedback you gathered during your dry run. This will help you identify areas that need improvement.
- Content Adjustments: Modify your slides and content based on feedback.
- Technical Tweaks: Make necessary adjustments to your equipment or settings.
- Engagement Strategies: Implement new methods for audience interaction.
Final Prep
Ensure all final preparations are made before your live webinar.
- Confirm Schedules: Send reminders to your participants.
- Re-check Equipment: Ensure all tech elements are working correctly.
- Backup Plans: Have contingency plans in place for potential issues.
Day-of Preparations
Arriving Early
Login about 30 minutes before your webinar starts. This gives you time to do a final check and ensure everything is in order.
- Run Through Your Checklist: Quickly go through your checklist to make sure nothing is missed.
- Greet Early Arrivers: Engage with any participants who join early to make them feel welcome.
- Prepare Your Space: Ensure your environment is quiet and free from distractions.
Keeping Communication Open
Having open communication channels with your team can make a big difference.
- Use a Chat Platform: Tools like Slack or Teams can be useful.
- Designate Roles: Assign tasks like monitoring chat or handling technical issues to team members.
Wrapping Up
Post-Webinar Review
Once your webinar is over, take some time to review how it went.
- Analyze Your Performance: Reflect on what went well and what could be improved.
- Review Participant Feedback: Send out a feedback form and review the responses.
- Make Notes for Future Webinars: Document any lessons learned for future reference.
Follow-Up
Follow-up is crucial for maintaining engagement with your audience.
- Send Thank-You Emails: Appreciate your audience for attending.
- Share Recorded Webinar: Provide a link to the recording for those who couldn’t attend.
- Engage Via Social Media: Keep the conversation going by engaging with participants on social media.
Testing your webinar setup in WebinarJam doesn’t have to be daunting. By following these steps, you can ensure a smooth and successful webinar experience. Take the time to prepare, conduct thorough tests, and make necessary adjustments. This will help you deliver a flawless, engaging webinar that leaves a lasting impression on your audience. Good luck!
