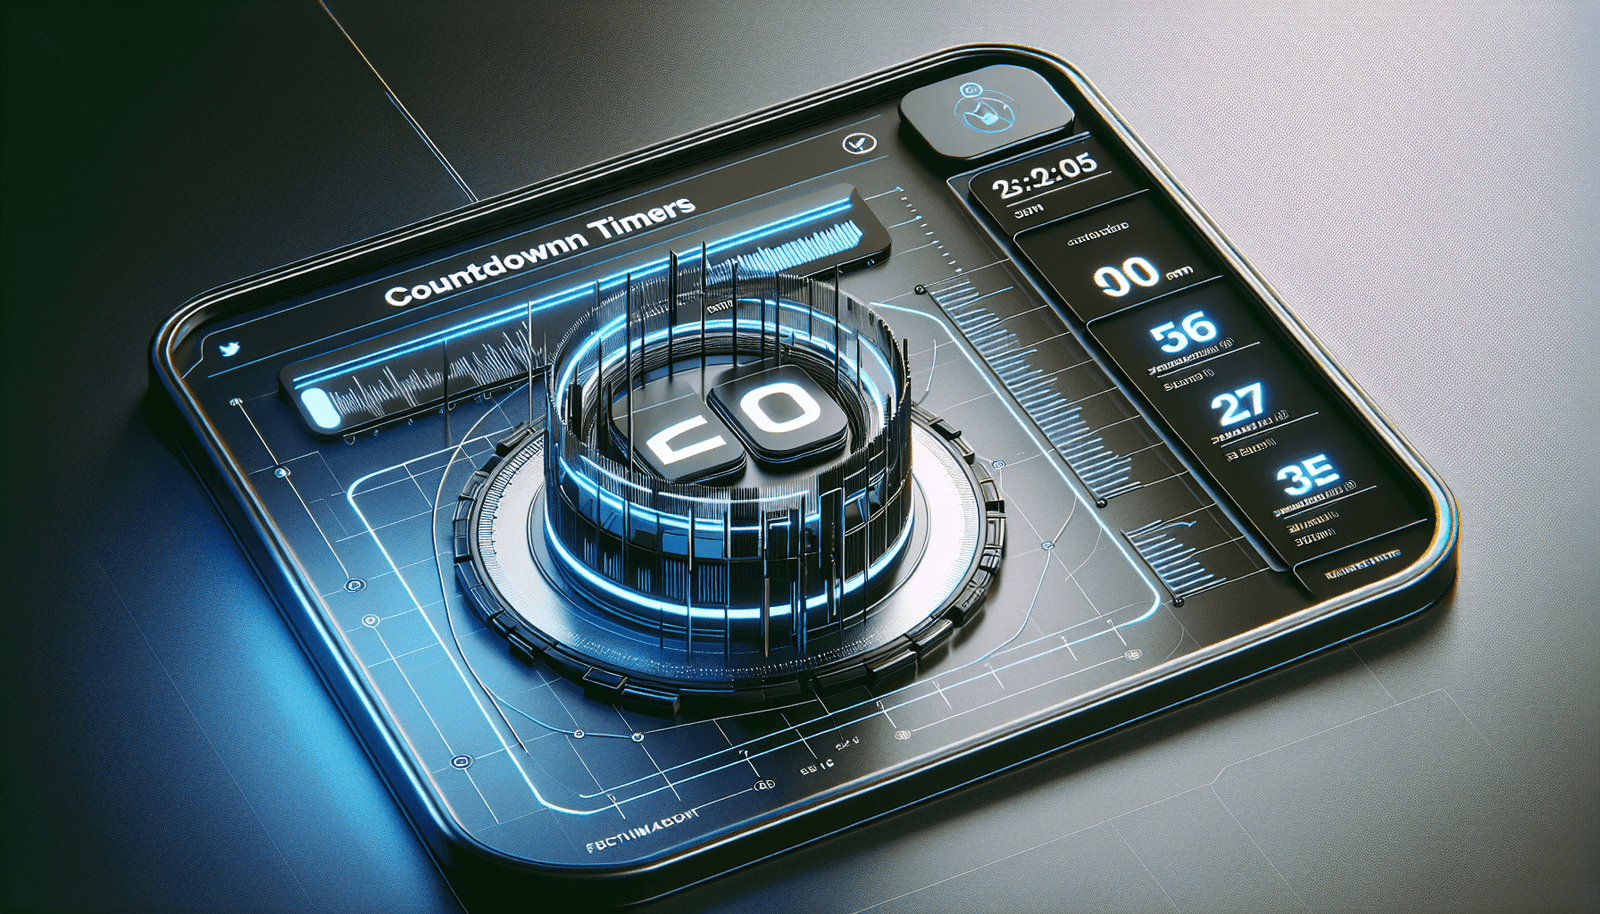
Have you ever wondered how to create an urgency timer in EverWebinar? If so, you’re in the right place to get the step-by-step process laid out clearly and concisely. Urgency timers can be a powerful tool in driving engagement and conversions during your online webinars. These timers create a sense of urgency that encourages attendees to take immediate action, whether it’s signing up for a session, purchasing a product, or participating in an offer you’re promoting.

What is EverWebinar?
EverWebinar is an automated webinar platform designed to help digital marketers and business owners host live-like webinars without being physically present. With EverWebinar, you can automate your marketing events and save valuable time while still delivering high-quality, engaging presentations to your audience.

Why Use an Urgency Timer?
An urgency timer is a visual countdown clock that creates a psychological need for quick action. By leveraging the “Fear of Missing Out” (FOMO), you can increase participation rates, drive more sign-ups, and boost sales. Urgency timers are particularly effective in webinars for emphasizing time-sensitive offers, upcoming events, or exclusive opportunities that require immediate attention.
Psychological Influence
An urgency timer taps into the human psyche by creating a perceived scarcity. It’s a tried and tested sales tactic that can push your audience to make faster decisions.
Boosting Engagement
Including a timer can make your webinars more engaging. Attendees tend to stay more attentive and are less likely to drop out when there’s a ticking clock reminding them of an approaching deadline.
Increasing Conversions
A well-placed urgency timer can significantly increase your conversions. People are more likely to take action when they feel they have a limited time to do so.
Setting Up Your EverWebinar Account
Before you can create an urgency timer, you need to ensure that your EverWebinar account is ready to go. If you haven’t set up an account yet, follow these steps:
Sign Up for an Account
- Visit the EverWebinar website.
- Click on the “Get Started” button.
- Fill in your details to create an account.
- Confirm your email address to activate your account.
Configure Basic Settings
- Log in to your EverWebinar account.
- Navigate to the dashboard.
- Click on “Configure” to set your basic settings like time zone, webinar title, and description.
Creating Your Webinar
To implement an urgency timer, you first need to create a webinar. Here’s how you can do it:
Step-by-Step Webinar Setup
- Log In: Access your account and head to your dashboard.
- Create Webinar: Click on “Create a Webinar” or a similar option.
- Details: Fill in the necessary details—webinar title, date, time, and description.
- Customize: Choose your webinar layout and add any necessary branding elements.
- Save: Click “Save” to create your webinar.
Adding Your Content
The content is crucial to keep your audience engaged. Prepare your slides, videos, and any additional resources you will use during the webinar.
Content Types
- Presentation Slides: Facilitate points with visual aids.
- Videos: Engage with a visual narrative.
- Documents and Assets: Provide additional resources.
Creating an Urgency Timer
Now, let’s get down to the main business—creating your urgency timer in EverWebinar.
Choosing Timer Type
Decide what kind of urgency timer fits your needs:
- Session Countdown: Countdown until the session starts.
- Offer Countdown: Limited-time offers during the webinar.
Step-by-Step Guide
Here is a step-by-step guide to creating an urgency timer in EverWebinar:
Step 1: Access Your Webinar Settings
Navigate to the webinar you have created:
- Dashboard: Go to your EverWebinar dashboard.
- Webinars: Click on the “Webinars” tab.
- Select Webinar: Choose the webinar you wish to add a timer to.
Step 2: Add Interface Elements
- Edit: Click on “Edit” to configure your selected webinar.
- Add Widgets: Navigate to the “Widgets” or “Interface Elements” section.
Step 3: Configure Timer
- Add Timer: Select the option to add a countdown timer.
- Settings: Configure the timer settings.
- Time Zone: Adjust to match your audience’s time zone if necessary.
- Duration: Set the correct duration based on your needs (e.g., 15 minutes for an offer).
- Action on Expiry: Choose what happens when the timer expires (e.g., redirect to a new page, display a message).
- Visual Customization: Adjust colors, size, and font to match your branding.
Step 4: Placement
- Preview Placement: Drag and adjust the timer to the desired location on your webinar interface.
- Test: Run a test to ensure it displays correctly.
Step 5: Save and Publish
- Save Changes: Once satisfied, click “Save.”
- Publish: Implement the webinar and urgency timer by clicking on “Publish.”
Additional Tips for Effective Urgency Timers
Creating an urgency timer is one thing, but ensuring it is effective is crucial. Here are some additional tips:
Choose the Right Duration
Choosing an appropriate length for the timer is important. If it’s too long, it may lose its sense of urgency, but if it’s too short, attendees may not have enough time to react.
Use Action-Oriented Language
The text associated with your timer should be compelling. Use phrases like “Act Now!” or “Limited Time Offer.”
Sync With Your Presentation
Ensure your urgency timer aligns seamlessly with the flow of your webinar. For example, introduce the timer slide when discussing a time-sensitive offer.
Test Thoroughly
Always run tests to ensure that the timer works correctly. Make sure it displays properly across different devices and browsers.
Offer Value
Make sure the action you are encouraging holds substantial value for your audience. Whether it’s a discount, exclusive content, or early access, the timer should lead to something worthwhile.
Alternatives to Built-in Timers
While EverWebinar provides built-in tools for urgency timers, there are also third-party options you might consider if you need more customizable features.
External Timer Software
There are several third-party tools available:
- Countdown Mail: Integrate countdown timers into emails and webinars.
- Deadline Funnel: A comprehensive tool for creating urgency and scarcity.
Steps to Integrate External Timers
- Create the timer in the third-party software.
- Get the embed code or URL.
- Add the code to your EverWebinar interface as a widget or custom HTML element.
Best Practices for Using Urgency Timers
Using timers effectively without seeming overly pushy is an art. Here are some best practices:
Transparency
Be clear about what happens when the timer ends. Transparency builds trust with your audience.
Avoid Overuse
Using urgency timers too frequently can lead to “banner blindness” where participants start ignoring them.
Match Design to Theme
Ensure that the timer blends well with the overall design of your webinar. Consistent branding makes your webinar look more professional.
Evaluate and Iterate
After your webinar, analyze the performance of the urgency timer. Check if it had the desired impact and make necessary adjustments for future webinars.
Common Mistakes to Avoid
Even though urgency timers can be very effective, there are common mistakes you should be wary of:
Inaccurate Timers
Timers that don’t function correctly can frustrate your audience. Double-check and test rigorously.
Lack of Clear Instructions
Make sure participants know exactly what they need to do before the timer runs out. Clear Calls to Action (CTAs) are key.
Overhyping
Creating false urgency can backfire. Only use timers for genuine offers and deadlines to maintain credibility.
Real-World Examples of Successful Urgency Timers
Various businesses have successfully implemented urgency timers to great effect. Here are some real-world scenarios:
Product Launches
Companies often use countdown timers to create buzz and excitement around new product launches.
Limited-Time Discounts
Retailers incorporate urgency timers during sales events like Black Friday to boost quick purchases.
Webinars
Webinars with time-limited offers see a higher rate of engagement and conversions, thanks to urgency timers.
Conclusion
By now, you should have a comprehensive understanding of how to create and implement an urgency timer in EverWebinar. This tool not only increases engagement and participation but also greatly enhances conversion rates by leveraging the psychological impact of scarcity and urgency. Whether you’re launching a new product, offering a limited-time discount, or simply want to ramp up the excitement during your webinar, an urgency timer can make all the difference.
So go ahead—implement your urgency timer today and watch as your webinar interactions and outcomes improve dramatically. Your audience will thank you for making their experience more dynamic and compelling, and your bottom line will reflect the positive change.
By following these detailed steps and tips, you are now equipped to make the most out of your EverWebinar sessions with the power of urgency timers. Best of luck with your next webinar!
