You’ve just signed up for a webinar that promises to be packed with insights and information crucial for your growth, and you’re thinking, “I’d love to keep this for later review!” Here’s the good news: recording a webinar is simpler than you might think. Whether you’re tuning in to a live broadcast or catching up with a pre-recorded session, preserving the webinar for future reference can be a breeze with the right tools and techniques. In this article, we’ll explore the most straightforward methods to ensure you never miss a beat and can revisit the valuable knowledge shared at your convenience. Have you ever found yourself wishing you could revisit a brilliant webinar you attended, or perhaps you’re planning to host one and want to make a recording available for your audience afterward? Recording a webinar can be a useful tool for both participants and presenters. Whether you aim to reach people who are unable to attend the live event, or simply want to make your webinar a resource that participants can return to, knowing how to record a webinar effectively is essential.
Understanding Webinar Recording
When you think about recording webinars, there are a few key aspects to consider to ensure a smooth process. This includes choosing the right tools, making sure you have the necessary permissions, and understanding how the recording can be used afterward to maximize its benefits.
Choosing the Right Recording Tools
The market offers a plethora of tools for recording webinars, each with unique features tailored to different needs. Some popular webinar platforms like Zoom, GoToWebinar, and WebEx have built-in recording features, while others might require third-party software to capture the audio and video of your presentation.
Built-in Webinar Tools
- Zoom: Zoom provides a seamless recording feature whether you’re using a free or paid plan, though with limitations on storage for free versions.
- GoToWebinar: Known for its robust marketing tools, GoToWebinar offers built-in recording options that are simple to use and integrate with your post-webinar marketing activities.
- WebEx: Besides offering webinar solutions, WebEx also provides comprehensive recording capabilities with options to edit and share the recordings post-event.
Third-Party Recording Software
If your platform does not support built-in recording or if you require more sophisticated editing capabilities, third-party software can be a game-changer. Some popular ones include:
- Camtasia: Excellent for both recording and editing, providing a comprehensive solution for webinar recordings.
- OBS Studio: A free and open-source software known for flexibility and integration capabilities, suitable for those who need customizable recording settings.
Permissions and Legal Considerations
Before you hit that record button, make sure you have the right permissions to record your webinar, especially if you’re hosting guest speakers or if the webinar content might include copyrighted material.
Getting Consent
- For Attendees: It’s polite and often legally necessary to inform attendees that the webinar will be recorded. This can be done through your registration page or at the beginning of the webinar.
- For Speakers: Ensure any guest speakers are aware of the recording and have agreed to it, possibly in writing.
Copyright and Ownership
- Be clear on who owns the content within the webinar. Discuss and determine the distribution rights and usage with any guest speakers or co-hosts.
Preparing to Record Your Webinar
Good preparation is key to ensuring that the recording goes smoothly and the quality of the audio and video is up to standard.
Checking Your Equipment
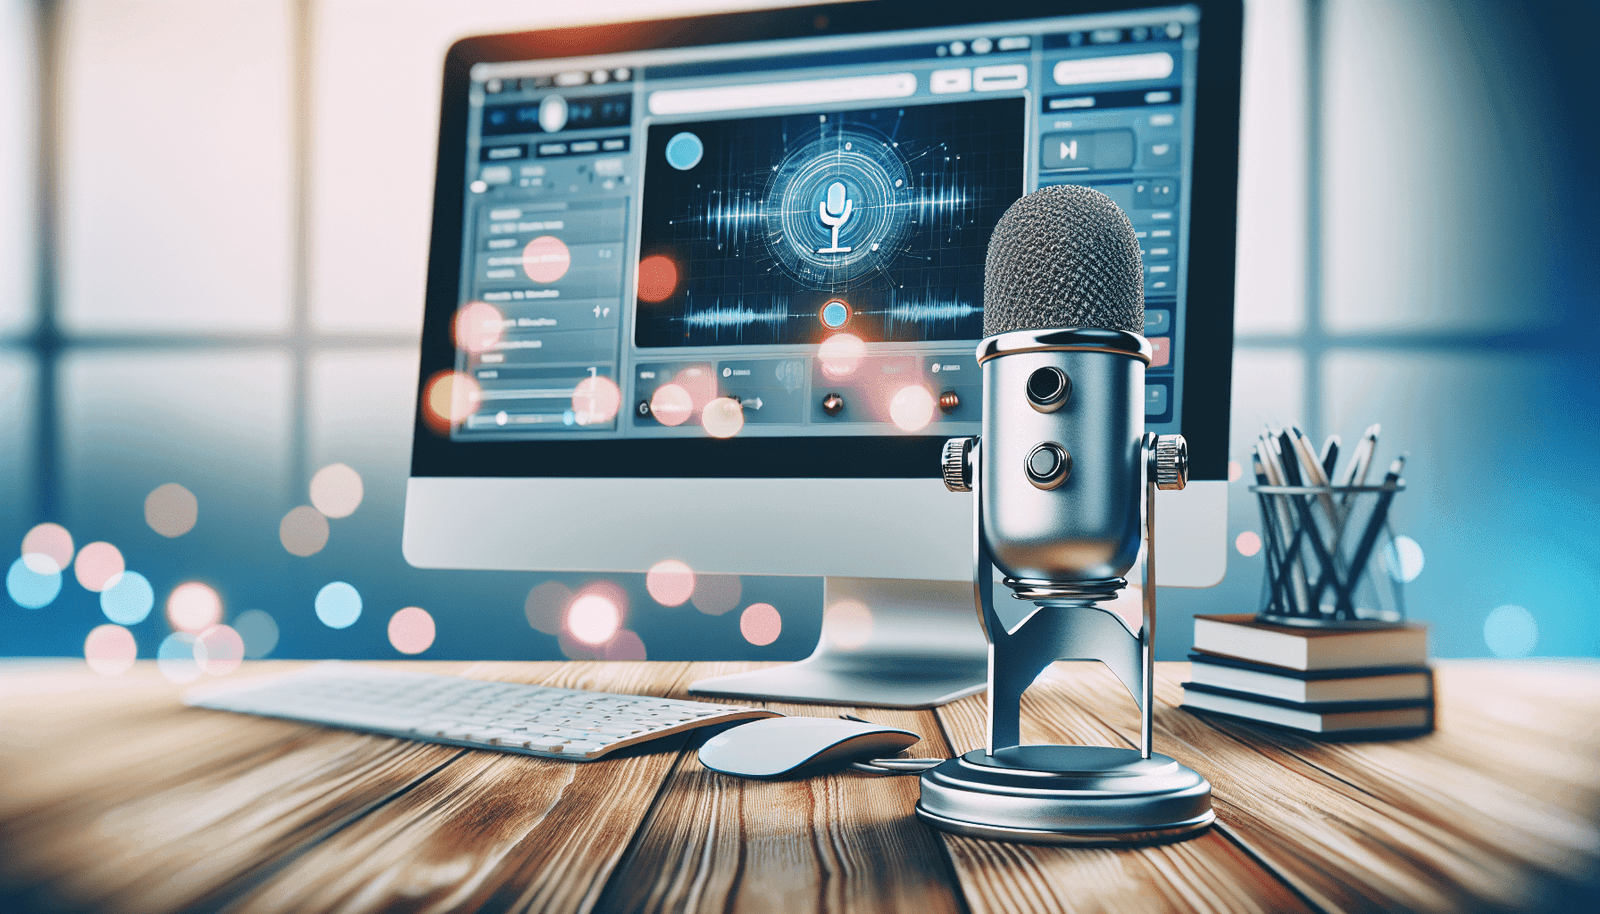
You need to ensure your equipment is capable of recording high-quality audio and video. This includes checking your microphone, camera, and internet connection.
Audio and Video Quality
- Microphone: Use a good quality microphone. This could be a USB microphone or a headset with a mic, depending on your budget and requirements.
- Camera: If your webinar is not just a screen share and includes face-to-face interaction, use a decent webcam.
- Internet Connection: Ensure your internet connection is stable and strong. Wired connections are preferable for stability.
Creating a Conducive Environment
The environment from which you host the webinar can affect both audio and video quality.
Lighting and Background
- Lighting: Make sure the room is well-lit, with light facing you rather than behind you.
- Background: Keep the background professional and free of distractions.
During the Webinar
While running the webinar, there are specific aspects you should manage to ensure the recording is clear and useful.
Starting and Monitoring the Recording
Don’t forget to start the recording! It might seem obvious, but it’s a common mistake. Keep an eye on the recording status through your platform or software throughout the session.
Indicators
- Most software will show a small recording icon on the screen. Make sure it’s active.
Engaging Effectively with Participants
Engagement can be tricky in a webinar setting, especially if you are focusing on delivering content and managing the recording.
Interaction Tips
- Q&A Sessions: Have specific times allocated for Q&A to manage both the flow of the webinar and the recording.
- Polls and Surveys: These can be great for interaction and also provide pauses during which you can manage recording aspects if needed.
After the Webinar: Managing Recordings
Once your webinar is over, the work isn’t finished. Now you need to manage the recording for distribution or archiving.
Editing the Webinar Recording
Editing can help refine the content and presentation of your webinar recording. You might want to trim the start and end, edit out any mid-webinar hiccups, or add in extra materials like slides or additional video clips.
Basic Editing Tools
- If you’re not looking for complex edits, tools like Windows Movie Maker or iMovie can handle basic cuts and additions.
Storing and Sharing the Recording
Deciding how to store and share your webinar recording is crucial. You might want to upload it to a video-sharing platform, embed it in your website, or send it directly to attendees via email.
Options for Sharing
- YouTube: Good for public sharing.
- Vimeo: Offers more privacy options if you wish to restrict access.
- Cloud Storage Services: Services like Google Drive or Dropbox can be useful if you are sending the recording to a limited audience via link sharing.
Optimizing Webinar Recordings for Audience Retention
Finally, consider how your recording will be used to maximize viewer retention and engagement.
Accessibility Features
Adding subtitles and providing transcripts can make your webinars more accessible and can also help with SEO if you’re posting the content online.
Making Content Digestible
- Chapter Markers: Add these in long recordings to help viewers navigate to sections that interest them.
- Highlight Reels: Consider creating a short, highlight reel from your webinar for those who might not have time for the full version.
Promotional Strategies
Use your webinar recording as a promotional tool. Share clips on social media, use them in email marketing campaigns, or offer them as educational resources.
Recording a webinar successfully requires a blend of the right tools, good preparation, effective execution, and thoughtful post-event management. By understanding each phase and implementing these tips, you’ll not only produce a valuable resource for your audience but also enhance the overall effectiveness of your webinar content. Now, are you ready to hit that record button?