Creating a compelling webinar registration form is easier than you might think!
In this article, you’ll discover straightforward steps to design a form that captures your audience’s interest and collects essential information.
From choosing the right platform to crafting engaging questions, this guide ensures you have all the tools needed to make the process smooth and efficient. Get ready to enhance your webinar sign-up experience and boost your event’s success!
Have you ever wondered how to create a webinar registration form? You’ve come to the right place! Whether you’re planning to gather insights, engage with your audience, or ensure a smooth process for your webinar attendees, creating an efficient and user-friendly registration form is crucial.
In this comprehensive guide, we’ll walk you through the entire process, breaking it down step-by-step, and offering tips to make your form stand out.
Why Do You Need a Webinar Registration Form?
A registration form serves as the first touchpoint between you and your potential attendees. It helps you collect information, secure registrations, and even set the stage for a successful webinar. Let’s discuss why it’s important.
Data Collection
Collecting data isn’t just about names and emails. It’s about identifying who your audience is, what they want, and how you can provide value to them. This data allows you to customize your webinar content to better meet your audience’s expectations.
Webinar Planning
Knowing how many people plan to attend helps you prepare your content better. Proper preparation can help you ensure enough resources, manage technical aspects, and even interact with your audience during the webinar effectively.
Follow-Up Activities
A registration form provides a database that you can use for follow-up emails, reminders, and even post-webinar activities. This can improve your relationship with your attendees and potentially convert them into loyal customers or followers.
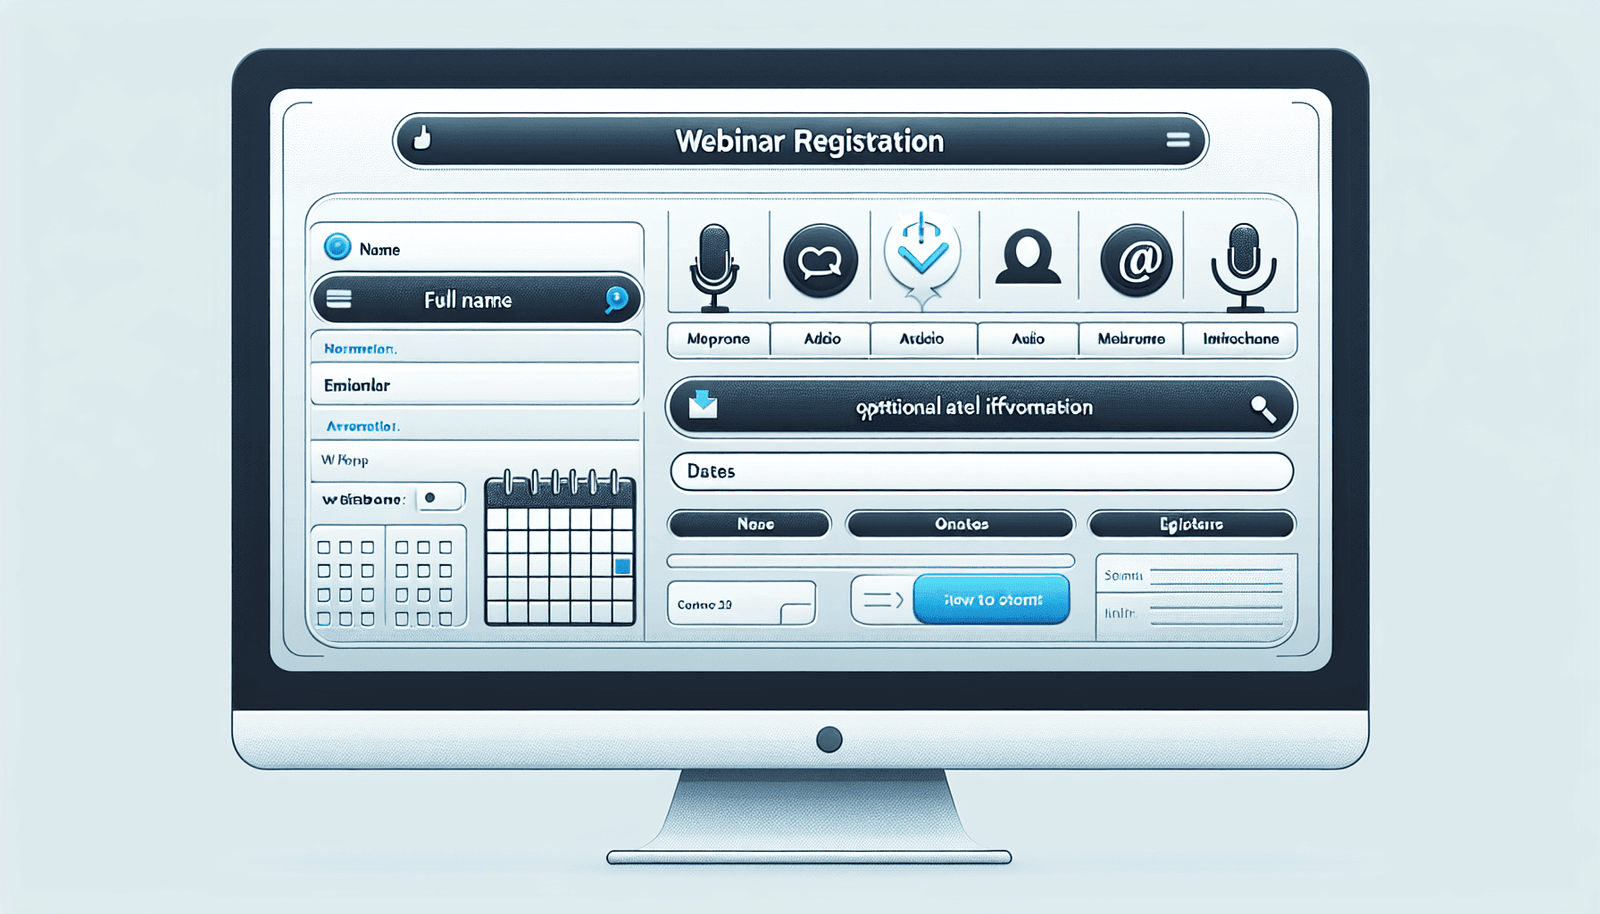
Basic Elements of a Webinar Registration Form
Before diving into the actual creation process, let’s break down the basic elements every good webinar registration form should include:
Personal Information Fields
These are the essentials. At the very least, you’ll want to collect:
- Full Name
- Email Address
Specific Details Related to the Webinar
You might also need additional information based on your webinar’s specific needs:
- Company Name
- Job Title
- Phone Number
- Questions for the Speaker
Additional Useful Fields
Depending on your purpose, you could also add:
- Preferred Time of Contact
- Webinar Session Choices (if you have multiple times)
- How They Heard About the Webinar
Choosing the Right Platform
There are many platforms you can use to create your webinar registration form. Here are some of the most popular ones:
Google Forms
Google Forms is user-friendly and free. It allows for a range of customization options and integrates well with other Google services.
Typeform
Typeform is known for its engaging and conversational forms. It offers a premium look and feel, which could make your registration process more appealing.
Eventbrite
Eventbrite is primarily an event management platform but works excellently for webinars too. It handles everything from registration to ticketing and payments.
Zoom
If you’re hosting your webinar on Zoom, you can create a registration form directly within the platform. This integrates seamlessly with your webinar setup.
Microsoft Forms
Similar to Google Forms, Microsoft Forms is part of the Microsoft Office Suite. It’s easy to use and offers a range of features conducive to creating strong registration forms.
Here’s a simple comparison table to help you choose:
| Feature | Google Forms | Typeform | Eventbrite | Zoom | Microsoft Forms |
|---|---|---|---|---|---|
| User-Friendly | Yes | Yes | Yes | Yes | Yes |
| Free Version Available | Yes | Yes (Limited) | Yes | Yes (With Zoom Account) | Yes |
| Customizations | Limited | Extensive | Extensive | Basic | Limited |
| Payment Integration | No | Yes | Yes | No | No |
| Analytics | Basic | Advanced | Advanced | Basic | Basic |
Step-by-Step Guide to Creating a Webinar Registration Form
Step 1: Define Your Objectives
What do you want to achieve with your webinar? Your objectives will determine which fields to include in your registration form. Are you aiming for maximum attendance? Do you want to gather specific data about your audience? Clarifying these questions will help you create a more effective form.
Step 2: Choose Your Platform
Based on your objectives and technical requirements, select the platform that best meets your needs. Refer to our comparison table above if you’re unsure.
Step 3: Create the Registration Form
Follow these general steps regardless of which platform you use:
Google Forms
- Go to Google Forms: Open forms.google.com.
- Start a New Form: Click on the “+” to start a new form.
- Title and Description: Give your form a relevant title and description.
- Add Fields: Use the “+” button to add questions.
- Short Answer: For names, emails, etc.
- Multiple Choice: For session choices, how they heard about the webinar, etc.
- Settings: Adjust settings such as email confirmations, restricting responses, etc.
- Customization: Add a theme or image to make your form more visually appealing.
- Share the Form: Click on “Send” to share your form via link, email, or embed it on your website.
Typeform
- Login: Go to typeform.com and log in or sign up.
- Start from Scratch or Template: Choose to start a new form or use a template.
- Add Questions: Click on “Add your first question”.
- Use different question types to gather various kinds of information.
- Design: Customize the look and feel of your form.
- Logic Jumps: Use “Logic Jumps” to make your form conversational.
- Settings: Adjust other settings like form progress, email notifications, etc.
- Share the Form: Provide a link to your form or embed it.
Step 4: Test the Form
Before rolling it out to the public, test the form yourself and perhaps even get a few colleagues or friends to test it. Make sure everything works smoothly and that all information is being collected correctly.
Step 5: Promote the Webinar
Once your form is ready and tested, it’s time to promote your webinar. Share the registration form link through various channels:
- Email Marketing: Send a well-crafted email to your mailing list.
- Social Media: Post on your social media platforms.
- Website: Embed the form or provide a prominent link.
- Collaborations: Work with partners or influencers to share your webinar.
Best Practices for Webinar Registration Forms
Keep It Simple
Simplicity is key. Only ask for information that is necessary to meet your objectives. Too many fields can deter potential attendees.
Mobile-Friendly
Ensure that your form is mobile-friendly. Many users will access your form via their mobile devices, so it should be easy to fill out on smaller screens.
Clear Call-to-Actions (CTAs)
Your form should have a clear call-to-action like “Register Now” or “Sign Up Today”. This can help guide the user smoothly through the registration process.
Privacy Policies
Be transparent about how you will use the collected data. A privacy policy can help build trust with your participants.
Personalized Confirmation
Provide a personalized confirmation message upon successful registration. This reassures the registrants that their information has been received.
Tips for Increasing Registration and Attendance
Creating a registration form is just one part of the puzzle. Here are some tips to ensure higher registration and attendance.
Early Bird Offers
Offer early bird specials to the first few registrants. This can create urgency and incentivize sign-ups.
Email Reminders
Send a series of reminder emails leading up to the webinar. This will keep your webinar top of mind for registrants.
Interactive Elements
Include polls or questions in your registration form to make it interactive and engage your audience even before the webinar starts.
Social Proof
Include testimonials or the number of people who have already signed up to create a buzz around your webinar.
Optimize for SEO
Make sure the landing page for your registration form is optimized for SEO. Use keywords, meta descriptions, and alt tags to improve your form’s visibility.
Conclusion
Creating an effective webinar registration form doesn’t have to be complicated. By following these steps and best practices, you’ll be well on your way to hosting a successful webinar.
Remember, the registration form is more than just a data collection tool; it’s the first step in building a relationship with your audience.
Feel free to revisit this guide as you create your webinar registration form. The key is to keep it simple, interactive, and user-friendly. Happy form-building, and good luck with your webinar!