Have you ever wondered how you can enhance the interaction with your webinar attendees in EverWebinar by configuring the chat settings? Setting up your chat properly can remarkably increase engagement and allow for a smoother experience for both you and your participants. This guide is designed to help you through the process of configuring the chat settings in EverWebinar, providing detailed yet easy-to-follow instructions.

Introduction to EverWebinar’s Chat Settings
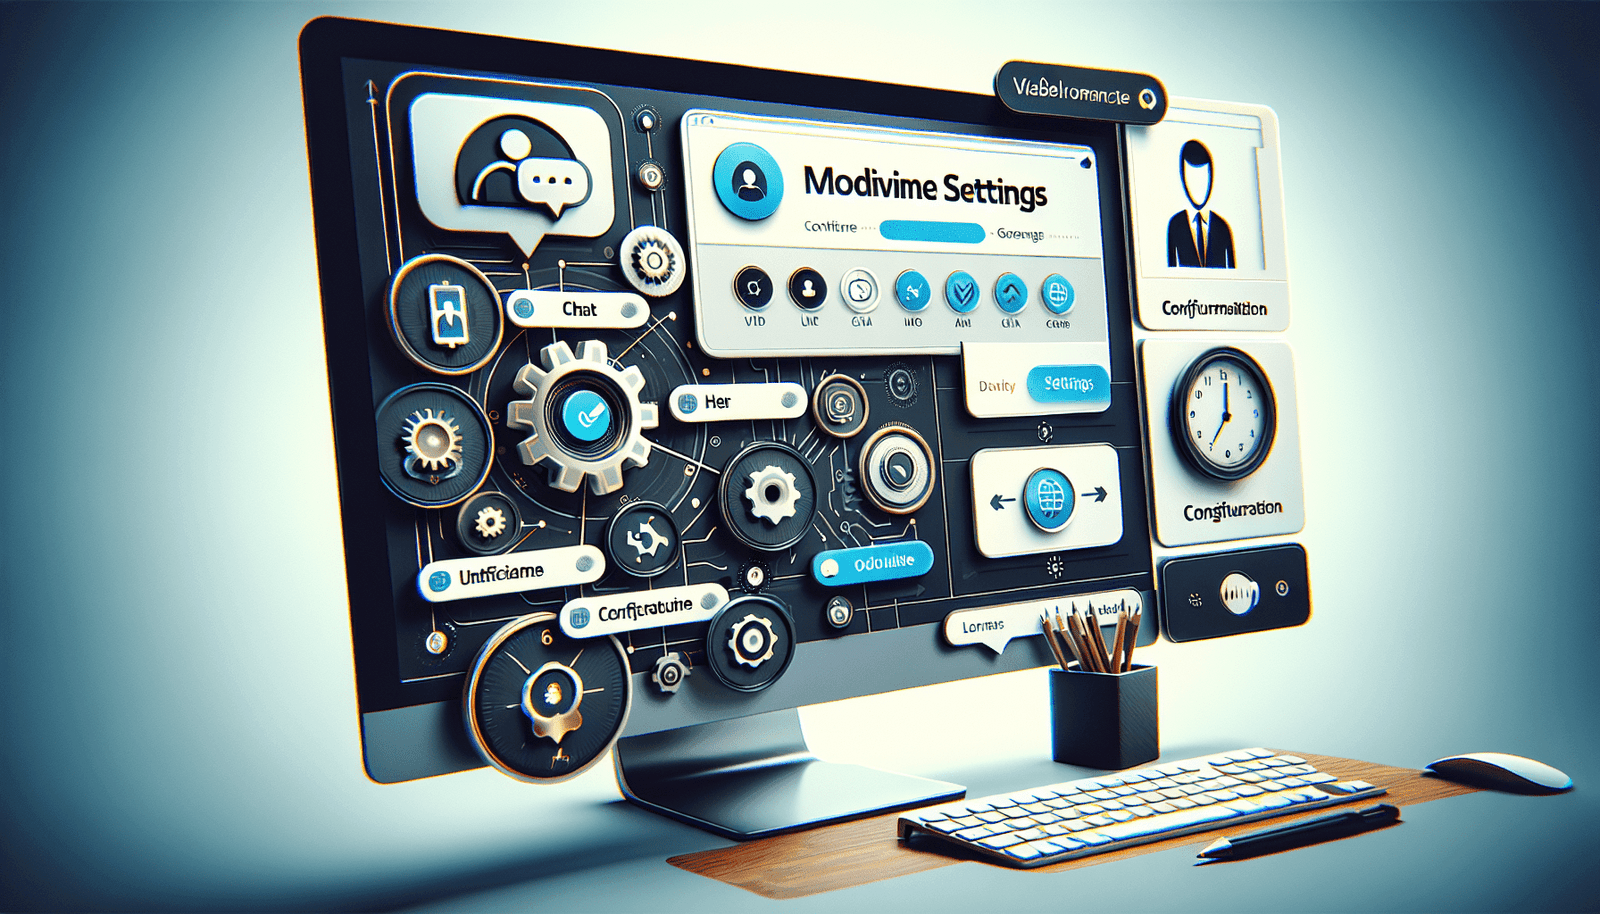
EverWebinar is a powerful automated webinar software that allows you to run webinars on autopilot. One of its impressive features is the chat system. Properly configuring the chat settings is crucial for keeping your audience engaged and ensuring the smooth operation of your webinars.
Why Configure Chat Settings?
Configuring your chat settings isn’t just a backend task—it fundamentally affects the interaction level, participant satisfaction, and overall success of your webinars. By having control over chat functionalities, you can:
- Moderate discussions effectively
- Foster a sense of community
- Handle questions systematically
- Ensure a professional and smooth webinar environment
Starting Point: Accessing Your EverWebinar Dashboard
The first step to configuring your chat settings is accessing your EverWebinar dashboard. This central hub allows you to manage your webinars, including the chat settings.
- Log in to Your EverWebinar Account: Begin by logging in with your credentials.
- Navigate to Your Webinar: From the dashboard, select the webinar you want to configure.
Configuring Chat Settings Step by Step
Now that you’re in the right place, it’s time to delve into the specifics of configuring your chat settings. This section will guide you through each option and its significance.
Accessing Chat Settings
To access the chat settings for a particular webinar, follow these steps:
- Select Webinar Settings: From your webinar dashboard, locate and click on “Webinar Settings.”
- Choose Chat Options: Within the settings menu, find and select the “Chat Options” section.
General Chat Settings
The general chat settings cover the foundational aspects of how the chat behaves during your webinar. These basic yet crucial settings will set the tone for your webinar’s communication atmosphere.
Enable or Disable Chat: Decide if you want to have the chat function enabled. While having a chat can be beneficial, there might be scenarios where you want to disable it to avoid distractions.
Enable Private Chat: Allow participants to send private messages to the moderators. This feature is helpful for addressing individual concerns without interrupting the main discussion.
Enable Chat Moderation: Choose whether you want messages to be pre-moderated. Pre-moderation means that messages need approval before being displayed to all participants, thus ensuring that only appropriate content is shared.
| Setting | Description |
|---|---|
| Enable Chat | Toggle to decide whether the chat function is active during your webinar. |
| Enable Private Chat | Allows attendees to send private messages to the moderators. |
| Enable Chat Moderation | Messages require moderator approval before being visible to all, ensuring appropriate content. |
Customizing Message Notifications
Notifications play a significant role in keeping both participants and moderators in the loop. You can customize these notifications to fit the flow of your webinar.
Enable Sound Notifications: Decide if you want a sound to play whenever a new message is received. This feature is particularly beneficial in large webinars to alert moderators about new queries or comments.
Display Message Notifications: Choose if you want a notification pop-up for new messages. This visual cue can be helpful for catching messages quickly but can also be distracting if overused.
Managing Attendee Messages
Effectively managing attendee messages ensures a smooth and engaging experience for everyone. Here are some key settings:
Set Message Approval: As mentioned, enabling moderation allows you to approve messages before they appear in the chat. This is highly beneficial for maintaining control over the discussion.
Auto-Approve Regular Attendees: For frequent or trusted attendees, you might want to auto-approve their messages, minimizing delay and fostering a trustful environment.
| Feature | Description |
|---|---|
| Enable Sound Notifications | Plays a sound when a new message is received, useful for large or fast-paced webinars. |
| Display Message Notifications | Shows a pop-up for new messages, offering visual alerts to moderators. |
| Set Message Approval | Allows moderators to approve messages before they appear to all attendees. |
| Auto-Approve Regular Attendees | Automatically approves messages from trusted attendees. |
Enhancing Interaction with Custom Features
EverWebinar allows you to add custom features to your chat settings, aiding interaction between participants and between you and your participants.
Chat Simulation for Automated Webinars
In automated webinars, you can simulate chat to make the session feel live and interactive. Here’s how to set it up:
Upload Predefined Messages: Create and upload a list of messages that appear at scheduled times. This creates an illusion of a live event, helping to engage participants.
Set Message Timing: Define exact times when each simulated message should appear, making it flow seamlessly with your presentation.
| Feature | Description |
|---|---|
| Upload Predefined Messages | Upload a list of messages that will appear during the webinar to simulate live chat. |
| Set Message Timing | Specify exact times for messages to appear, creating a seamless interaction flow. |
Utilizing Polls and Q&A Sessions
Polls and Q&A sessions are additional ways to enhance engagement through the chat function.
Creating Polls: Integrate polls into your webinar to gather feedback and keep the audience engaged. You can announce and discuss the results in real-time.
Conducting Q&A: Schedule Q&A sessions where attendees can ask questions through the chat. You can address these questions live, making the webinar more interactive.
Saving and Exporting Chat Transcripts
Post-webinar, you can save and export chat transcripts for future reference or analysis.
Enable Chat Transcripts: Activating this feature will automatically save all chat messages once your webinar ends.
Export Options: Export the transcripts in your preferred format (e.g., .txt, .csv) for review or archival purposes.
| Feature | Description |
|---|---|
| Enable Chat Transcripts | Automatically saves all chat messages at the end of the webinar. |
| Export Options | Allows you to export transcripts in various formats for review or archival. |
Best Practices for Chat Management
To get the most out of your chat settings, keep in mind some best practices. Here are a few tips to ensure a smooth and productive chat experience during your webinar.
Pre-Webinar Preparation
Training Moderators: Ensure your moderators are thoroughly trained on using chat tools, approving messages, and responding efficiently.
Establish Chat Guidelines: Prior to the webinar, establish clear guidelines for chat behavior and share them with participants. This can include rules about language, relevance of questions, and the usage of private messages.
During the Webinar
Active Moderation: Have at least one dedicated person for chat moderation. Active moderation helps in quickly addressing any inappropriate messages and ensuring relevant questions are highlighted.
Engage with Attendees: Encourage moderators to engage with attendees through regular prompts and responses. This helps keep the communication dynamic and participants engaged.
Post-Webinar Follow-Up
Review Chat Transcripts: Go through the chat transcripts to understand common questions and feedback. This helps in improving future webinars.
Follow-Up on Unanswered Questions: If there were any questions that couldn’t be addressed during the webinar, follow up with the participants afterwards. This shows attentiveness and care for participant concerns.
Troubleshooting Common Issues
Despite best preparations, you might encounter some issues with the chat functionality. Here are some common problems and their solutions.
Participants Can’t See Messages
If participants report that they can’t see messages, ensure the following:
- Check Chat Settings: Ensure the chat is enabled for participants.
- Disable Private Chat (if not needed): Sometimes, private chat settings can cause confusion.
- Review Moderation Settings: Ensure messages are approved timely by the moderators.
Messages Not Appearing
If messages sent by attendees are not showing up:
- Moderation Delay: Check if there’s a delay in message approval.
- Technical Glitches: Refresh the browser or ask participants to reload the page.
- Chat Enabled: Ensure the chat function is properly enabled in the settings.
Sound Notifications Not Working
For issues with sound notifications:
- Browser Permissions: Make sure the browser has permission to play sounds.
- Device Settings: Verify that the device’s sound settings are configured correctly.
- EverWebinar Settings: Ensure the sound notifications are enabled within EverWebinar’s settings.
Conclusion
Configuring chat settings in EverWebinar is a pivotal step towards creating an engaging and interactive webinar experience. From enabling chat functions and setting up notifications to adding simulated interactions and managing attendee messages, each setting plays a crucial role. By following the detailed steps and best practices outlined in this guide, you can ensure a smooth, professional, and highly interactive experience for your attendees.
Remember that the ultimate goal is to foster a positive and engaging atmosphere that encourages participation and enhances the learning experience. Your carefully configured chat settings can make all the difference in achieving this goal. So, take the time to set them up thoughtfully and enjoy the benefits of a well-managed and interactive webinar.
