Have you ever wondered if you can edit webinar recordings in StreamYard? You’re not alone. Many users of this platform find themselves asking the same question, mainly because knowing how to tweak the recordings could save a lot of time and effort. Read on to discover all you need to know about editing webinar recordings in StreamYard—your friendly guide awaits!

What is StreamYard?
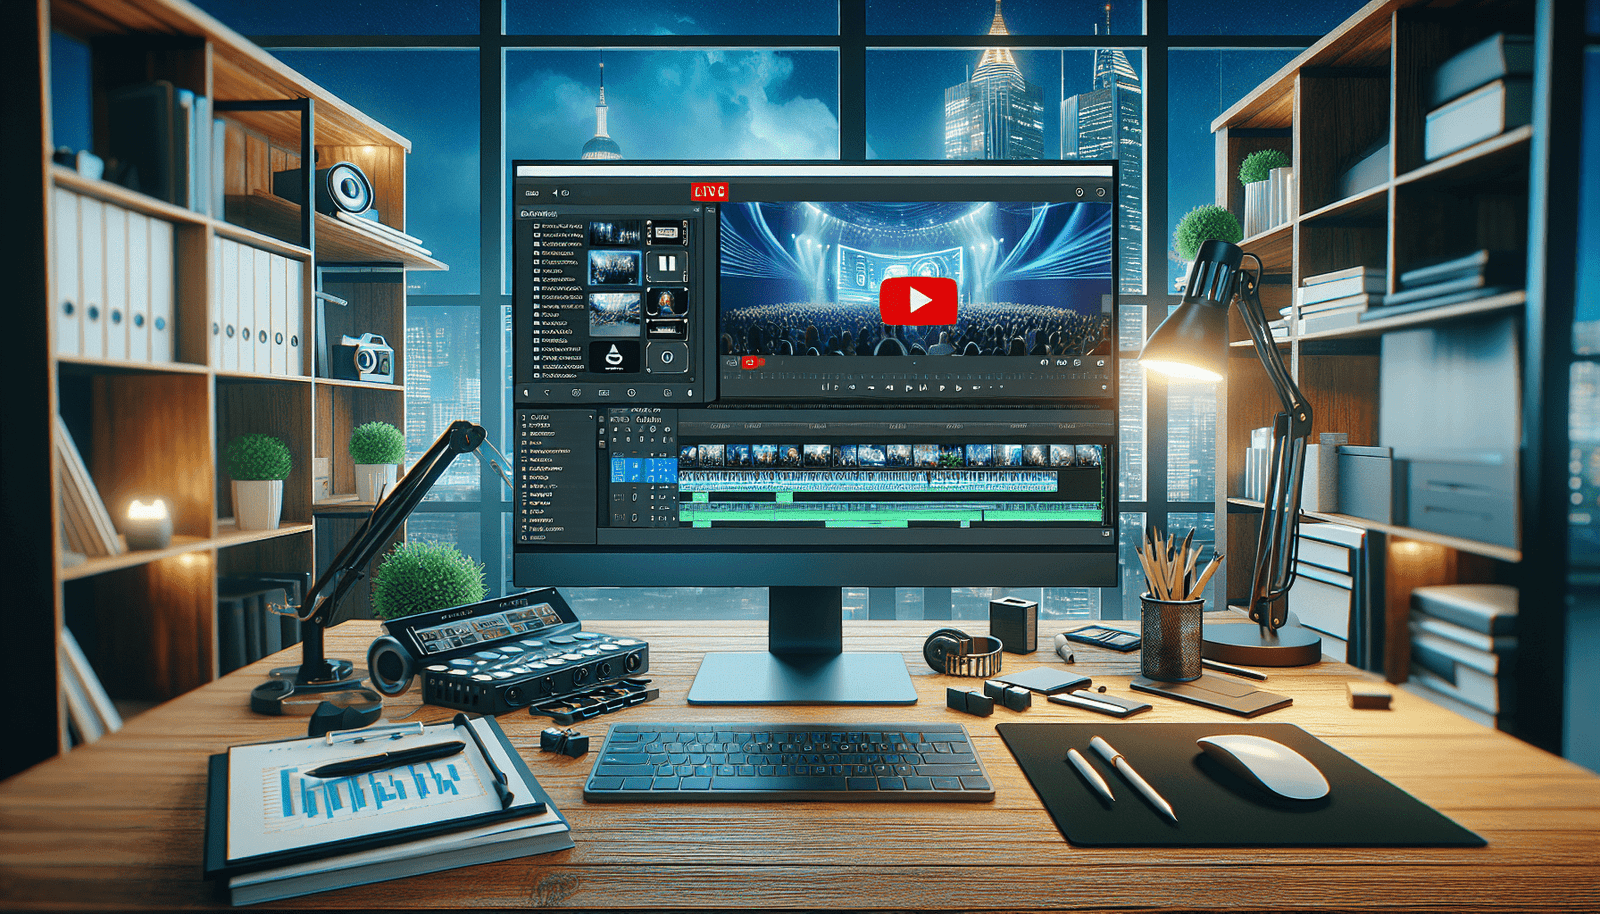
Before addressing editing capabilities, let’s first understand what StreamYard is. StreamYard is a live streaming service that significantly simplifies creating professional-looking broadcasts directly from your web browser. It’s a preferred tool for those engaging in webinars, interviews, or any live streaming event, thanks to its user-friendly interface and diverse features. You can easily connect StreamYard to platforms like Facebook, YouTube, and LinkedIn, enabling multi-stream broadcasts.
Why Choose StreamYard?
When choosing a live streaming tool, you might find yourself overwhelmed by choices. StreamYard stands out due to its browser-based operation, allowing you to start or join a broadcast without downloading any software. The platform’s simplicity doesn’t compromise its professional attributes like screen sharing, interactive comments, and, most importantly, recording capabilities—all of which pave the way for fantastic content without complex processes.
Recording Your Webinar on StreamYard
Having discussed what StreamYard is and its benefits, you might be eager to know how recording a webinar works on this platform. Let’s break down the process.
How to Record a Webinar
Recording a webinar in StreamYard is a straightforward process:
- Set Up Your Broadcast: First, create a broadcast and set your preferences, such as date and time.
- Invite Guests: Use the invite link to bring in any additional participants you need for your webinar.
- Start Broadcasting: Go live or record without going live, depending on your needs. StreamYard allows both options.
- End and Save the Broadcast: Once you’re done, end the broadcast, and voila—StreamYard will automatically save the recording for you.
Where to Find Your Recordings
After recording your webinar, StreamYard automatically saves it in the “Broadcasts” section of your dashboard. You can then download the video to your device, offering the flexibility to edit or share the webinar as needed.
Editing Capabilities in StreamYard
Now that you know how to record your webinar let’s address the burning question: Can you edit webinar recordings directly in StreamYard?
Built-In Editing Features
StreamYard doesn’t offer comprehensive built-in editing tools. It is primarily designed for creating live, polished broadcasts, serving best in pre-live production stages rather than post-production editing.
Real-Time Editing Features
While StreamYard may not allow post-recording editing, it does provide several features to edit and enhance your content in real-time. This means you can manage how your broadcast looks during the live session by using:
- Overlays and Backgrounds: Add visual elements to enhance your webinar.
- Banners and Tickers: Include lower thirds and scrolling banners for key information.
- Screen Sharing: Showcase presentations or other content.
- Branding Elements: Create a consistent look with your brand colors and logo.
Export for Final Edits
While StreamYard is excellent for real-time live production, for post-production editing, the process involves exporting your video file from StreamYard and importing it into video editing software that offers comprehensive editing features. This process allows you to use advanced editing tools to enhance your final product.
Tools for Post-Production Editing
So, if StreamYard isn’t the one-stop hub for both streaming and editing, what should you use? Let’s explore some popular video editing softwares that complement StreamYard.
Popular Video Editing Software
Here are some widely-used video editing tools you might consider:
| Software Name | Key Features | Operating System |
|---|---|---|
| Adobe Premiere Pro | Professional-quality video editing, wide range of tools | Windows, MacOS |
| Final Cut Pro | Intuitive and advanced features for Mac users | MacOS |
| iMovie | Basic editing features, beginner-friendly | MacOS, iOS |
| Camtasia | Screen recording and video editing in one | Windows, MacOS |
| DaVinci Resolve | High-end color correction, professional editing tools | Windows, MacOS, Linux |
Choosing the Right Tool for You
Choosing the right editing tool depends on your level of experience, budget, and the complexity of the edits you want to perform. If you’re new to video editing, starting with iMovie or Camtasia might be a smooth way to dip your toes into the water. For more advanced needs, Adobe Premiere Pro or DaVinci Resolve could be more suited to your capabilities.
Steps to Edit Your Webinar Recordings
Once you’ve exported your StreamYard recording and chosen an editing platform, you can begin the editing process. Although the exact steps will differ based on your chosen software, here’s a general guideline:
- Import the Video: Upload the StreamYard recording into the video editing software.
- Trim and Cut: Remove unwanted sections or pauses to keep your webinar engaging.
- Add Annotations: Include text, captions, or other annotations to emphasize key points.
- Incorporate Music and Effects: Enhance the overall production quality with background music or sound effects.
- Color Correction: Adjust lighting and coloring for a professional look.
- Review and Export: Once satisfied with the edits, export your final product in your desired format.
Tips for Effective Webinar Editing
Editing may seem daunting, but with a few tips, you can make the process both efficient and enjoyable.
Keep Your Audience in Mind
Consider who your viewers are and tailor the edits to maintain their interest and engagement throughout the video. Having a clear understanding of your target audience aids in choosing the most relevant segments to highlight and how best to present them.
Maintain a Consistent Tone
Keeping a consistent tone throughout your webinar is crucial. This means remaining aligned with your brand and ensuring that any added elements—be they text, effects, or music—complement your brand’s voice and messaging.
Less Can Be More
Avoid overwhelming your viewers with excessive edits. Subtle enhancements can significantly impact production quality without distractions from the core message of your webinar.
Reaping the Benefits of Edited Webinar Recordings
By investing time in editing your webinar recording, you enhance not only the visual and auditory elements but also maximize viewers’ engagement and retention. Customizing your presentation and ensuring it is concise and captivating can set you apart from others in your field.
Opportunities for Repurposing Content
Edited webinars can also be repurposed for various formats, evident by:
- Highlight Reels: Showcase the best moments in brief highlight videos to attract new viewers.
- Tutorials: Break down longer webinars into focused tutorial sessions.
- Social Media Clips: Share shorter clips across social platforms to promote your full-length content.
Final Thoughts
Editing webinar recordings in StreamYard may not be fully possible, but the platform paves the way for high-quality, real-time production. The editing stage is merely the next step—once you’ve captured great content live, the power is in your hands to make it polished and presentable for your audience. By leveraging additional editing tools, you’re well-equipped to transform raw recordings into finely crafted presentations that your audience will appreciate and enjoy.
